
Uploading and sharing photos on Geni is quick and easy. Wherever you are on the site, you can use the drop down menu to add photos to your albums with our Uploader.
1. At the top of the page, click on the Family tab and select “Photos.”

2. Next click “Add Photos” to begin uploading your pictures to Geni.

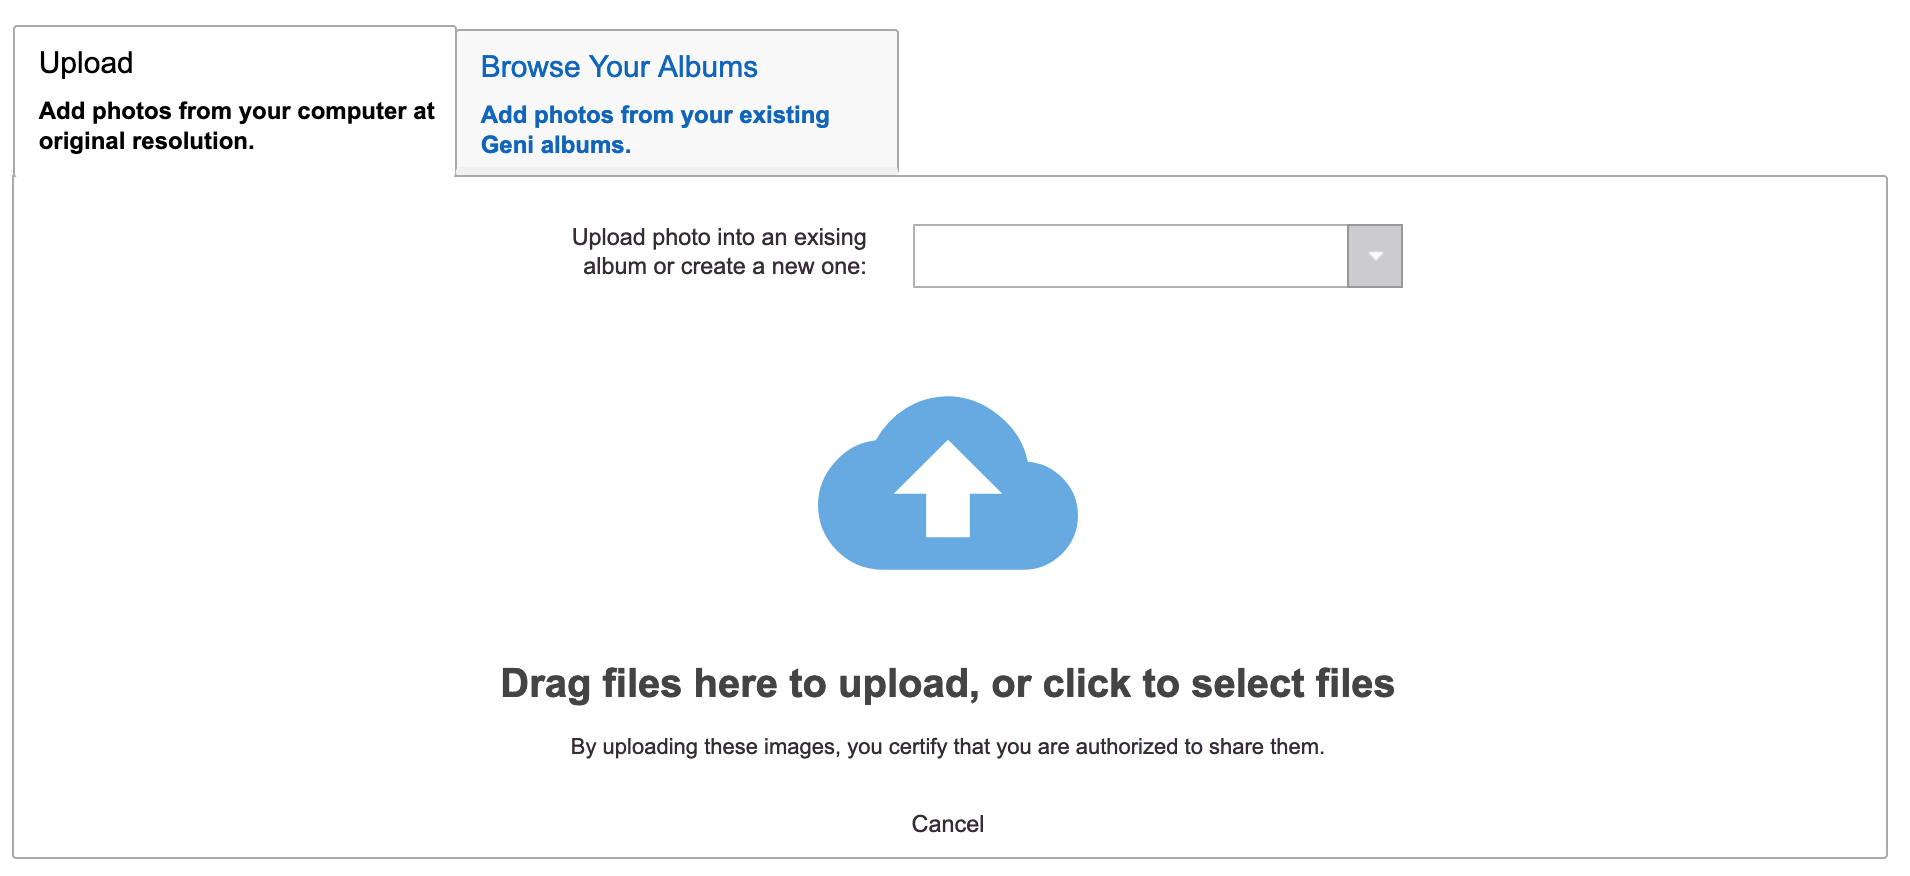
3. When you upload your photos, you will see one tab – Upload
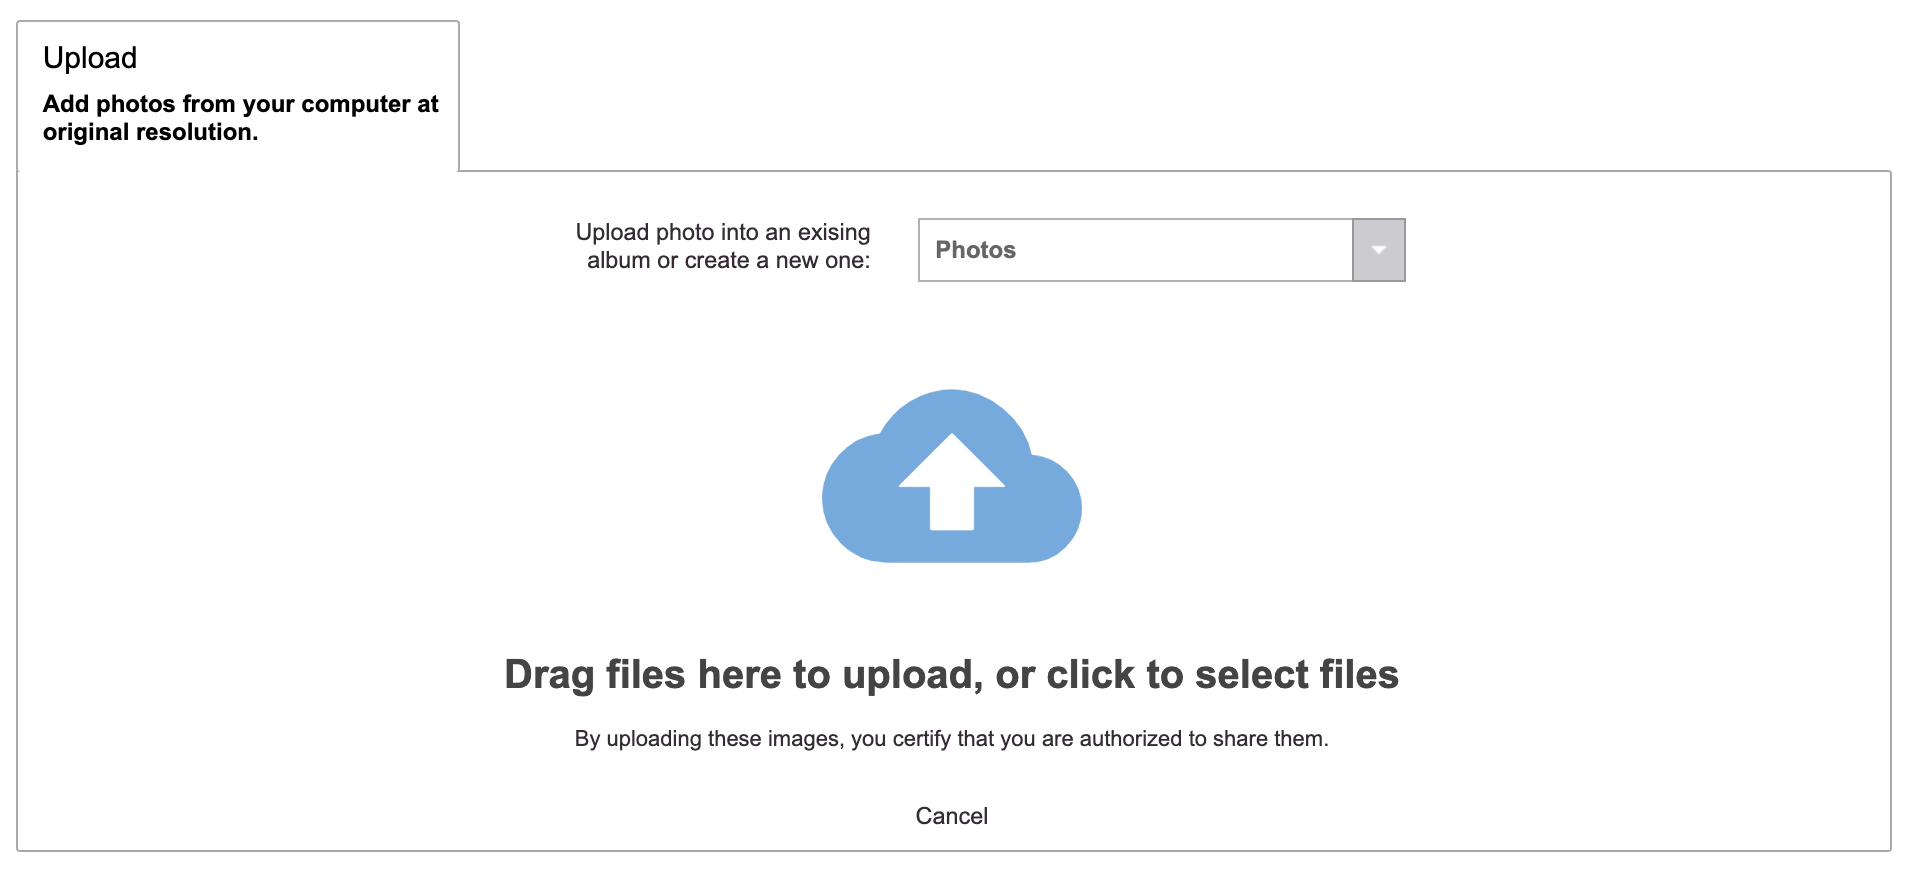
4. With the Uploader, you can quickly add multiple photos at once from your computer, tablet or phone either by dragging and dropping the photos into the box or by clicking the box to select the files you want to share. Tablet and smartphone users can simply touch the box to select photos from their device’s gallery. The photos may be uploaded to a new album or you can choose to add your photos to an existing album from the drop down.
There is no limit to the number of photos you can upload at once. After selecting the files, a green progress bar will appear as your photos are being uploaded.
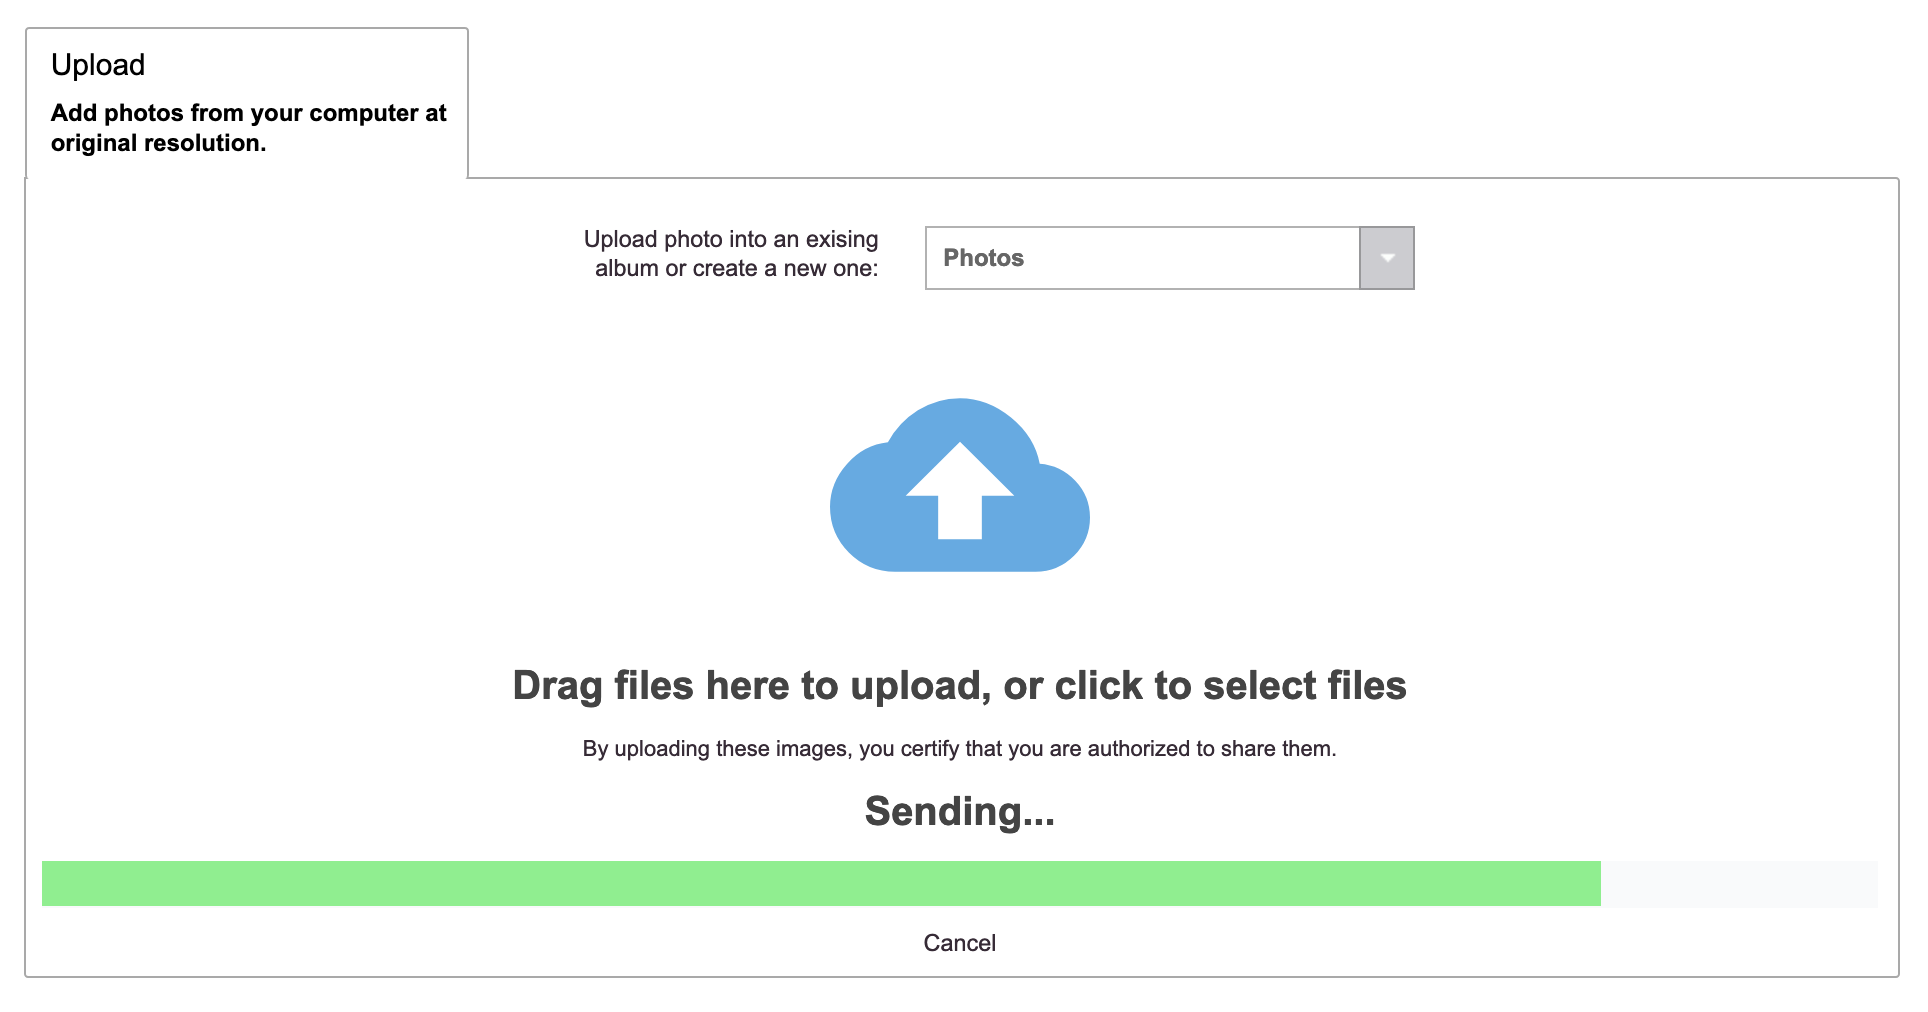
For especially large photos, the photo uploader will resize the images to 2048 x 2048 pixels and preserve the photo’s aspect ratio.
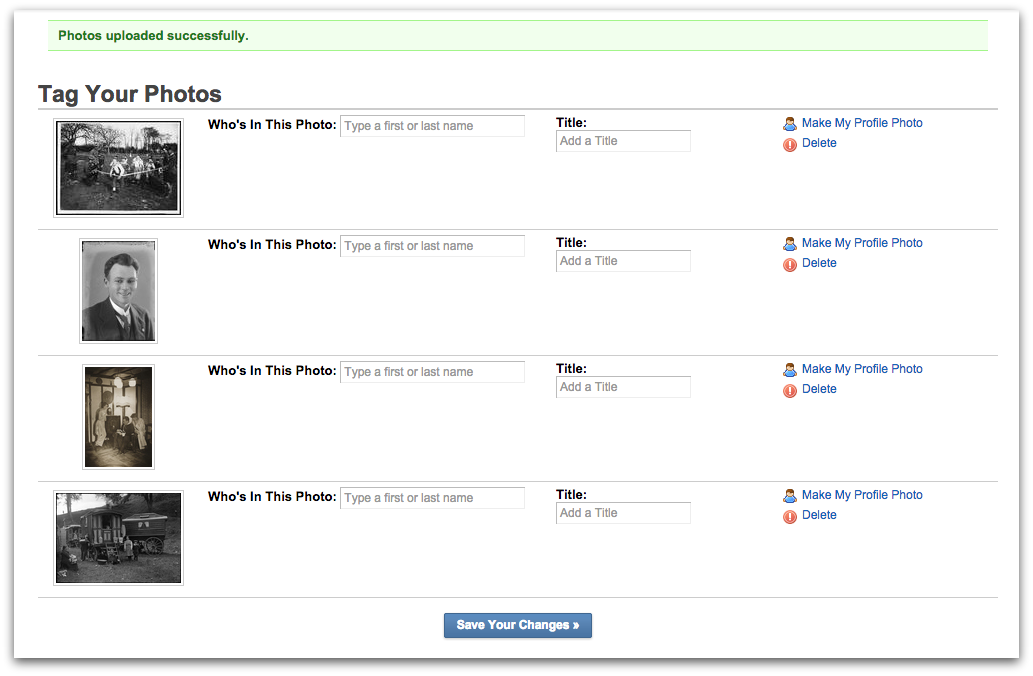
5. When your photos are done uploading, you will be able to tag the people in the photos, add a title to each picture and even select one to be your profile photo. Once you are done, you can save your changes.
You may also upload photos directly on the profile page. On the Media tab under Photos, click "Add Photos." If no photos have been added to the profile before, you can click the option to start uploading photos of the profile.
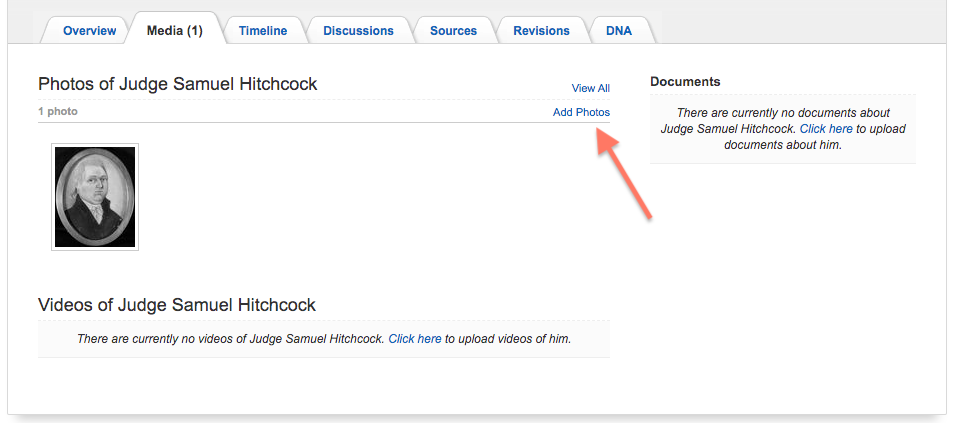
You can then use the Uploader to upload a photo from your computer or browse your existing albums on Geni to choose a photo.
Updated: October 6, 2020
0 Comments